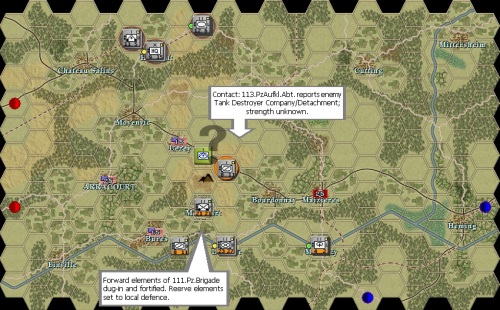
OK. So far I seem to keep my new years resolutions and daily blog posts. Below the situation after the initial move/orders of my forces. I am naturally cautious and I won’t conduct recon-by-force with the reconnaissance detachment of the 113.Pz.Brigade. The boys of the 111.Pz.Brigade are using their shovels to dig-in and wait for the response of the Yanks. So far, the flanking elements (hopefully!) avoided detection.
The trickiest part shall be how to describe the enemies reaction. While one can play/replay the following turn and make notes, it’s quite a challenge when you have to describe the action of a whole campaign, let’s say in D21 or FitE! Right, let’s move on and have a look how the situation looks like after the enemy’s response.
The reaction of the enemy was swift. The 113.PzAufkl.Abt. was pushed back and scattered into three platoons! Some main element of the 113.Pz.Brigade, because I was so foolish to set them to ‘Local Reserve’, moved towards the sound of the guns! The detailed battle report I simply used from the sit-rep file. Later on, with more battles taking place, one simple slide won’t be sufficient to display the results like that. One has to be creative…
To be continued…


 CS Legion
Nice series of articles. I love AARs and have personally contributed a few in the various forums I visit. I use a programme called Snag It for my captures and visual aids.